WE WILL BE CLOSED FOR A BREAK FROM 19/12/2024 to 06/01/2025
Flat rate shipping of $8 with FREE shipping on orders over $100.

Created with Sketch.
Search

How to Make the Best Homemade Beef Jerky

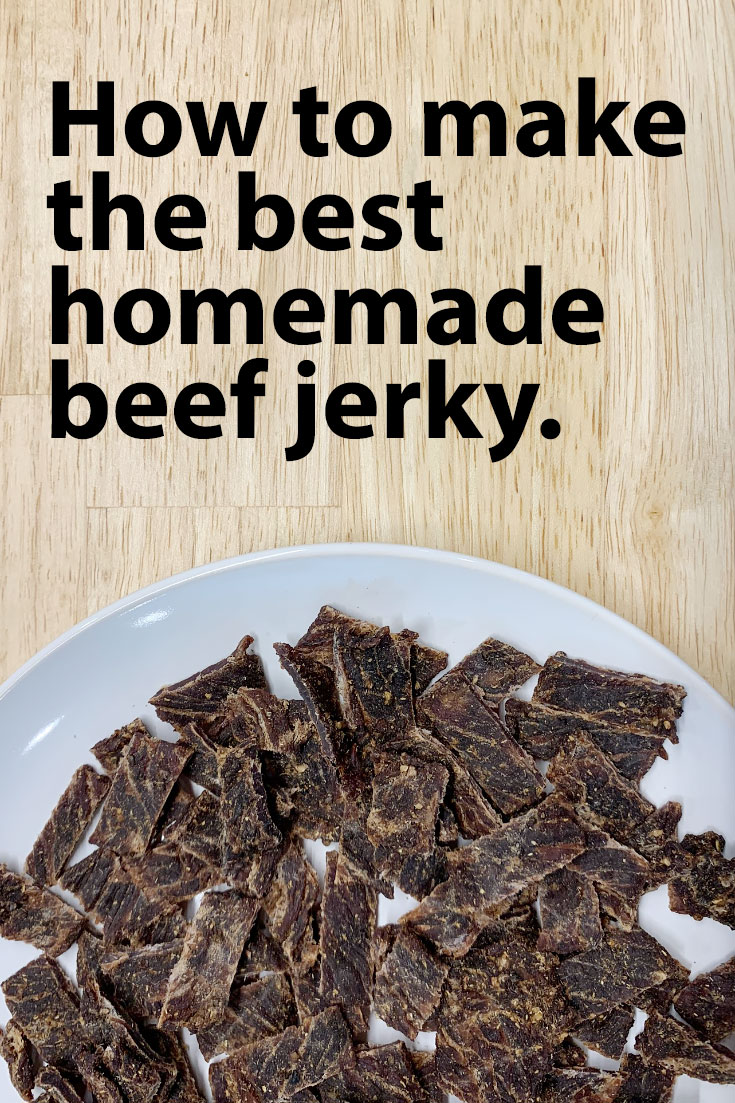
how to make the best homemade beef jerky

Speak to any red-blooded Australian, and they’ll tell you that their favourite snack is beef jerky. Beef jerky is a great source of protein that’s delicious, nutritious, and surprisingly easy to make at home.

Most of us have our favourite butchery or beef jerky brand, but what happens if they go out of business or change their recipe? You can spend a lot of time and money eating sub-par products in your quest to rediscover your ideal taste, or you can make your own.

The best thing about homemade jerky is the level of customisation. If you don’t like sweet jerky, then lower the sugar content. If you hate bone-dry jerky, then make some with a little less time in your jerky dehydrator. By playing around with popular beef jerky recipes, you can tailor-make a batch of jerky that’s perfect for your tastes.

So if you’re looking for a tastier and more affordable alternative to store-bought jerky, why not give our homemade beef jerky recipe a try?

What You Need to Make Beef Jerky

Most people assume that making jerky at home is expensive, time-consuming, and needs a lot of specialist equipment. In truth, you can control batch sizes to control your costs and time spent in the kitchen, and you can use an oven if you don’t want to invest in a dehydrator.

Meat

The biggest influencer on your jerky quality is the cut of meat you buy. Ideally, you want a cut that has a little fat as possible. Popular options include:

  • Topside
  • Flank steak
  • Sirloin tip
  • Eye of round
  • London broil
  • Top or bottom round roast

All of these cuts are incredibly lean and typically free of visible fat. Fat doesn’t dehydrate and will go rancid instead, seriously affecting the shelf-life and taste of your jerky.

There’s also a huge debate in the beef jerky world about whether you should slice with or against the grain. Just like wood, meat has a grain made up of muscle fibres running along the meat.

Cutting with the grain results in thin strips of chewy jerky, while cutting against the grain results in a less chewy version that’s easier to bite through and eat on the go. It’s a completely personal preference, and no one will judge you, regardless of what you decide to do.

Marinade

Your marinade is what will determine the final flavour and texture of your jerky. Regardless of what you add, your marinade has to contain vinegar, spices, water, and salt in varying quantities.

Soy sauce, or any other salt, is important for food safety and helping to dehydrate the meat faster. Avoid using low-sodium soy sauce since it won’t have the salt necessary to inhibit microbial growth. Vinegar is also vital for food safety and adds the traditional acidic tang associated with great beef jerky.

While the above ingredients are essential, there are plenty of other marinade ingredients you can add to make your beef jerky even better. Some popular additions include:

Worcestershire sauce: this tangy, sweet fish sauce adds an extra layer of flavour and complexity to the meat. Use sparingly, as it can become overwhelming very quickly.

Tamari sauce: if you don’t want excessively salty beef jerky, consider using tamari sauce instead of soy sauce. It’s less salty while still having a similar preserving capacity to improve food safety.

Sugars: if you like slightly sweet beef jerky, consider adding liquid sugars like maple syrup or even simple brown sugar. You can even add fruit juice to increase acidity and sweetness at the same time.

Spices: the sky’s the limit when it comes to spices. Common additions include black pepper, red pepper flakes, chilli flakes, smoked paprika, onion powder, garlic powder, coriander seeds, sesame seeds, and even curing salt or liquid smoke for a more American BBQ-type flavour.

When you’re designing your own beef jerky marinade recipe, try to add ingredients sparingly. Adding everything and the kitchen sink in your first effort will probably result in disaster. Consider the flavours that you love, and remember that less is more. You don’t want to completely overwhelm the savoury taste that makes us love beef jerky so much.

Making homemade jerky is about experimentation, so don’t be afraid to adapt our already-great recipe with some changes of your own.

Dehydrator

In good news, you don’t need a dehydrator to make your own jerky. It does simplify the process and is better for bulk recipes, but you can still make excellent jerky using a fan-forced oven.

It’s also important to note that not all dehydrators are created equal. Do your research to buy one that meets your needs and budget.

The Recipe

If it’s your first time making jerky at home, keep it simple for the best results. This homemade beef jerky recipe is the perfect place to start your journey, setting you up for success when making beef jerky at home.

Prepare the Meat

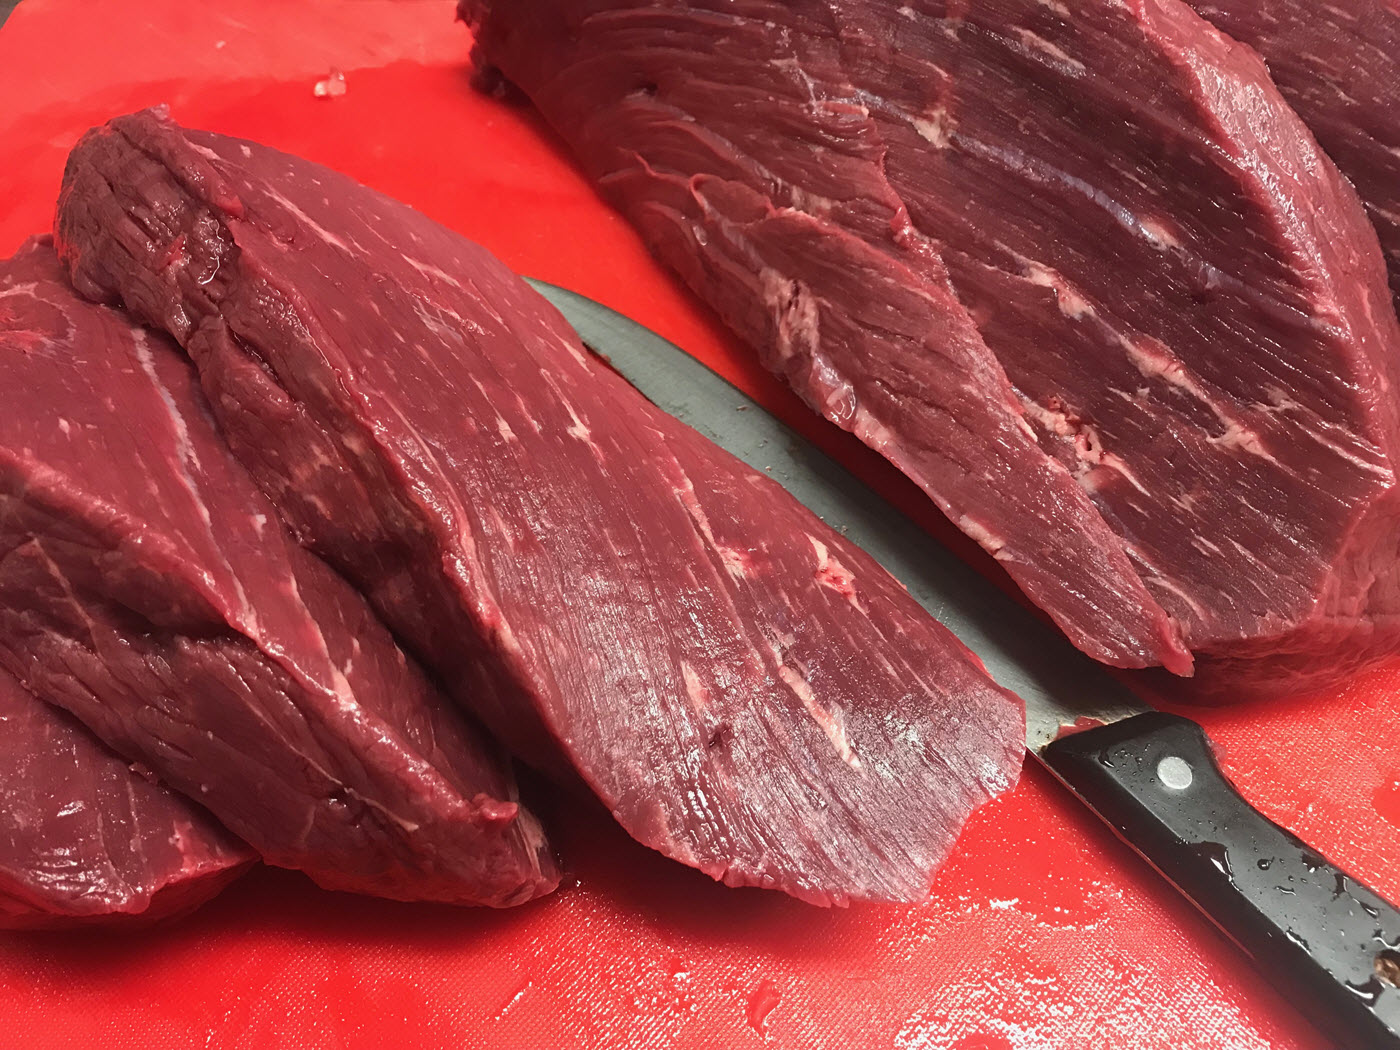
Always buy a lean cut of meat when making jerky. Speak to your butcher about what cut they recommend, or buy cuts used for beef roasts like the eye of round, top round, or flank steak. These cuts have a lot of meaty flavour and almost no fat, making them perfect for jerky.

When it comes to quantities, a rule of thumb is that 3kg of beef will make around 1kg of finished jerky. We do recommend starting with smaller amounts in the beginning while you’re still figuring out your way.

Start by removing all visible fat from your cut of meat with a sharp knife. Also, check for any tendons or chewy bits and cut them out as well.

Once you’ve got a good-looking hunk of meat, it’s time to turn it into even beef strips. Slicing all the meat by hand can be extremely difficult and time-consuming, even if you have a sharp knife.

The ideal solution is to have the butcher slice the meat for you. They’ll produce evenly sliced beef that will dry evenly and make your life much easier. You can even trade some of your homemade beef jerky in return for the favour.

If you’re shy or have a terrible butcher, you can either buy sliced meat or do it yourself. Putting the meat in the freezer for half an hour will partially freeze the meat, making it significantly easier to cut by hand.

Make sure to cut all slices evenly. Cut with the grain for chewier beef jerky or against the grain for tender jerky. Take care to slice the meat evenly, as different sized pieces will dry at different rates, leaving you with uneven quality and textures.

slicing meat for beef jerky

Prepare the Marinade

The foundational marinade recipe for 1kg of meat is:

  • 180 ml soy sauce
  • 35 ml apple cider vinegar
  • Ground black pepper
  • Water to completely cover your meat

You can add or replace ingredients to taste, but this is a great foundation to build on that will produce delicious results. We recommend trying this recipe and then adapting it on your second try to taste.

Once you’ve made the marinade, put the sliced meat and marinade in a ziplock bag. Using a ziplock bag prevents waste and ensures that every strip gets even coverage and exposure.

The longer you leave your meat in the marinade, the more flavourful your homemade beef jerky will be. We recommend at least six hours and preferably 18 – 24 hours for best results. Keep the meat in the fridge during the marinating process to ensure food safety.

After 24 hours, discard the excess marinade and prepare for the final step: cooking your delicious jerky.

Cooking

There are two main ways to make beef jerky: in a dedicated dehydrator or the oven. Both methods will work just fine, though the dehydrator is the simpler option.

Dehydrator

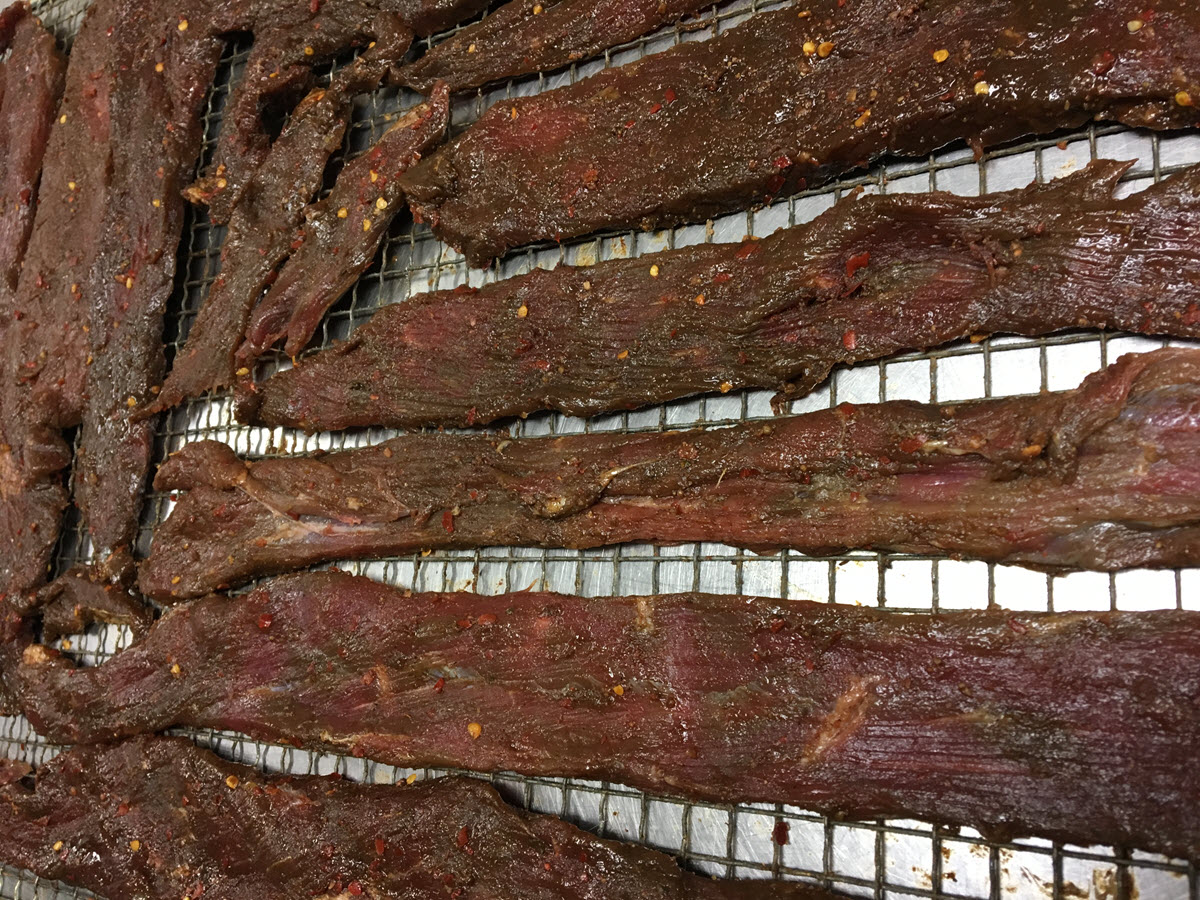
The first step is to lay the jerky on the dehydrator trays. Keep a small space between each piece and that there aren’t any overlapping layers or folded pieces.

Set your dehydrator to 75C and put your trays in. Rotate the trays every couple of hours to ensure even drying. The average cooking time is around eight hours, though it’s a good idea to keep a close eye on the process to prevent over or undercooking.

Once your meat is completely dry, put it in the oven at 135C for the post-drying killing step. This step kills all potential bacteria and fungi on the meat, dramatically extending the shelf-life of your homemade beef jerky.

How to Make a Beef Jerky in an Oven

You can turn your oven into a temporary dehydrator. It’s a bit messier but can still produce excellent homemade beef jerky. It works even better when you have a fan-forced option to move air around the oven.

Start by lining the bottom of your oven with aluminium foil and place a drip tray for easier cleaning. Next, stick toothpicks through every piece of jerky and hang it from your oven racks or a dedicated wire rack. Space the slices evenly apart to prevent uneven drying.

Set your oven to 70C and use a wooden spoon to keep the door open. The extra airflow will speed up the drying process.

Cook the jerky for three or four hours if hanging off the oven rack or eight hours if you’ve put it on a wire rack. Monitor the process to avoid overcooking your batch.

Once your jerky is ready, turn up the oven to 135C for the post-drying killing step to remove potential pathogens from your batch.

Many people struggle to know when they have properly dried jerky. Wet jerky is a potential health hazard unless you eat it immediately after drying, while overcooked jerky is just dry and tasteless.

In general, the jerky should be an even, ‘cooked’ colour throughout and should bend and crack without snapping. You should also see white fibres in the meat when it’s ready for eating.

beef jerky on trays for dehydrator

Storage

Depending on the amount of beef jerky you make, you’ll have to consider storage options. The best storage option, of course, is directly into your belly. However, if you’ve made a lot, you’ll want to store it correctly for maximum shelf life.

Vacuum-sealed bags are the gold standard for storage. They can keep your jerky edible for up to two months. You can also store your jerky in a sealed glass jar standing upright to prevent any moisture from gathering and causing health concerns.

Ziplock bags are also an option, but we’ve found that storing your homemade beef jerky in a ziplock bag makes it softer and slightly off-tasting much sooner than other storage methods.

Adapting Your Homemade Beef Jerky Recipe

The best thing about homemade beef jerky is that you’re in control of the entire process. If you want spicy jerky, you can add in extra red pepper flakes or even chilli. If you want something sweeter, consider adding Worcestershire sauce or even maple syrup.

While beef is the go-to meat, it’s by no means the only one that works. Venison jerky has a stronger, more meaty flavour while also being leaner and healthier. Australia has plenty of different meats for the aspiring jerk enthusiast, and the sky’s the limit. Just make sure to pair your desired meat with a great marinade that will bring out the unique flavours, and you’ll have something special on your hands.

Beef jerky is a huge part of Australia’s snack cuisine, and it’s not hard to see why. If store-bought jerky isn’t cutting it, why not make beef jerky at home? Not only is homemade beef jerky healthier, but you also get much more control over the final product.

If you want even more inspiration when you make beef jerky, why not check out the Bigwig range? We have six unique flavours to set your imagination and tastebuds on fire. We recommend using our BBQ rubs as the base for your jerky marinade if you don’t feel like blending your own mix of herbs and spices.

So if you’re looking for a quick fix of jerky with the homemade beef jerky quality, give Bigwig Craft Beef Jerky a try today!

Sign up to the bigwig jerky newsletter for 10% off your first order

Seasons Greetings

Please note due to very low stock thanks to an overwhelming few months of sales, we will be closing from the 19th to the 6th of January.

You may still place orders in this time, however they will not be dispatched until the new year.

Thank you to all our supporters for a great 2024!

Team Bigwig Jerky